¶ Install Kubectl
Kubectl is the commandline tool for all Kubernetes clusters. There is a rancher2 CLI, but we're going to focus on the more comprehensive kubectl tool for now. Install kubectl using these instructions: https://kubernetes.io/docs/tasks/tools/install-kubectl/#install-with-homebrew-on-macos
Once kubectl is installed, add krew (a plugin manager) https://krew.sigs.k8s.io/docs/user-guide/setup/install/. Install the konfig, ns and ctx plugins `kubectl krew install konfig` `kubectl krew install ns` and `kubectl krew install ctx`
We'll get logged in to Rancher 2 and then download the kubeconfig from there.
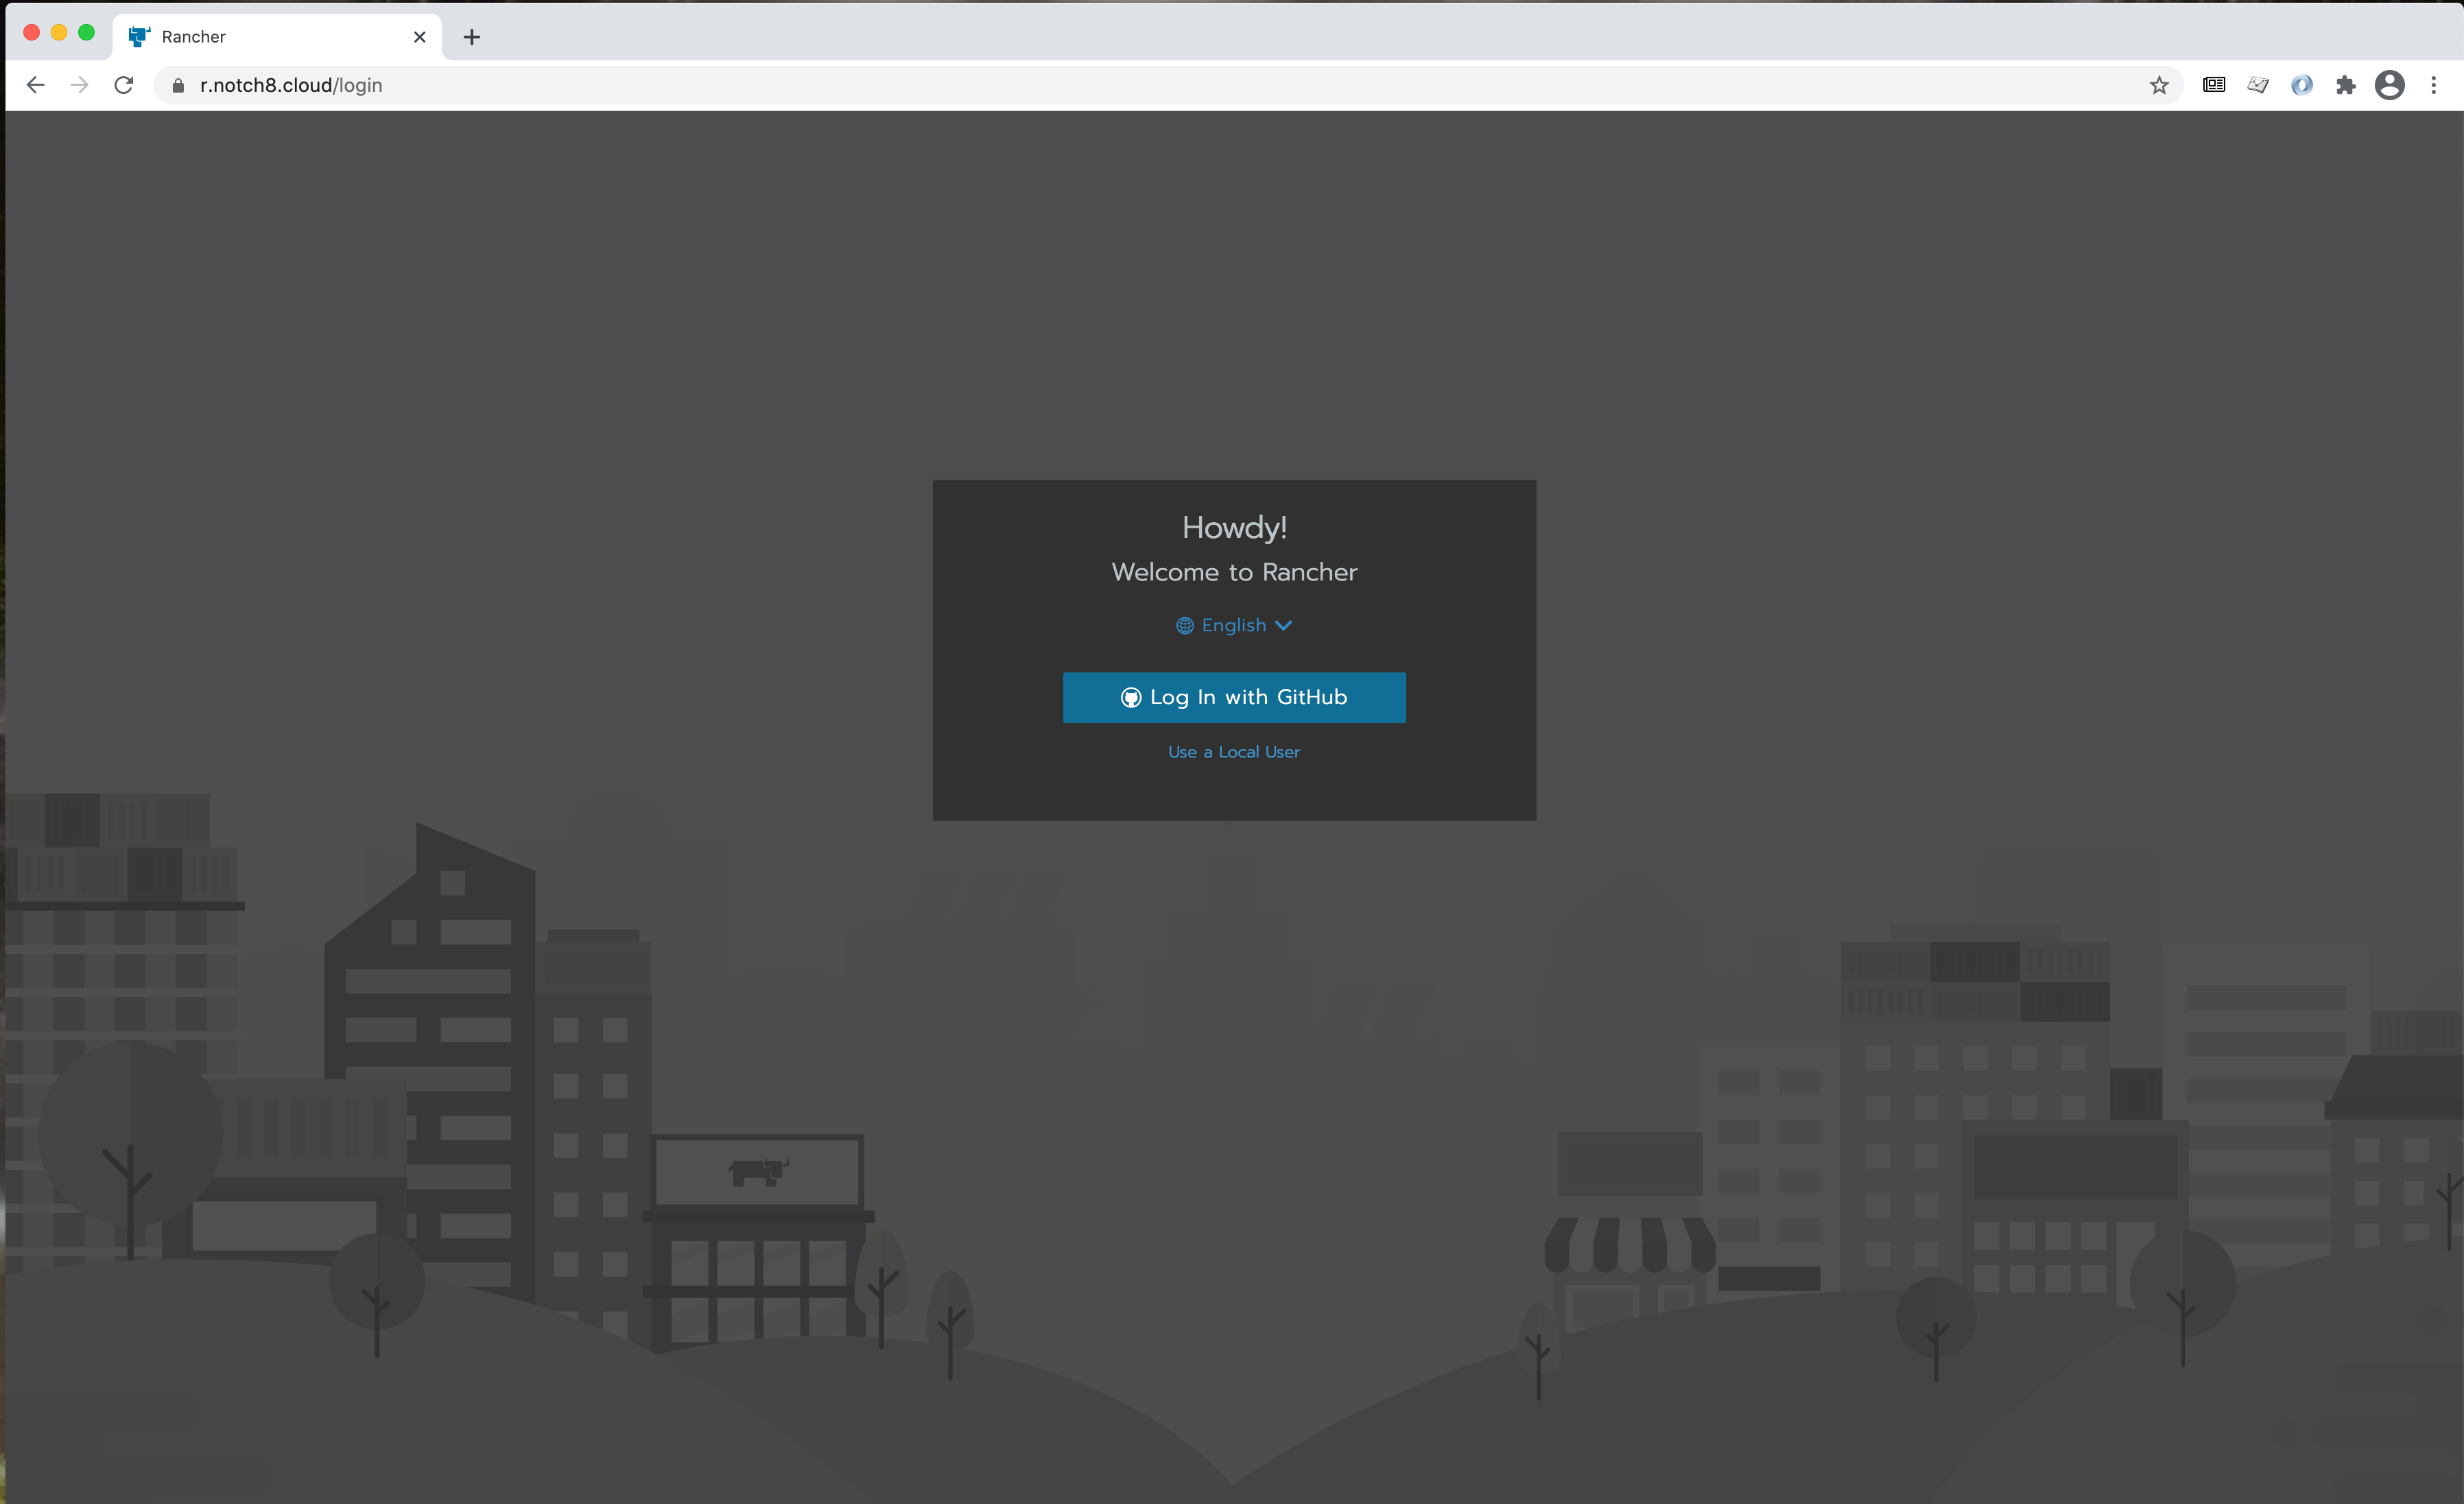
¶ Log in to Rancher 2
Go to https://r.notch8.cloud
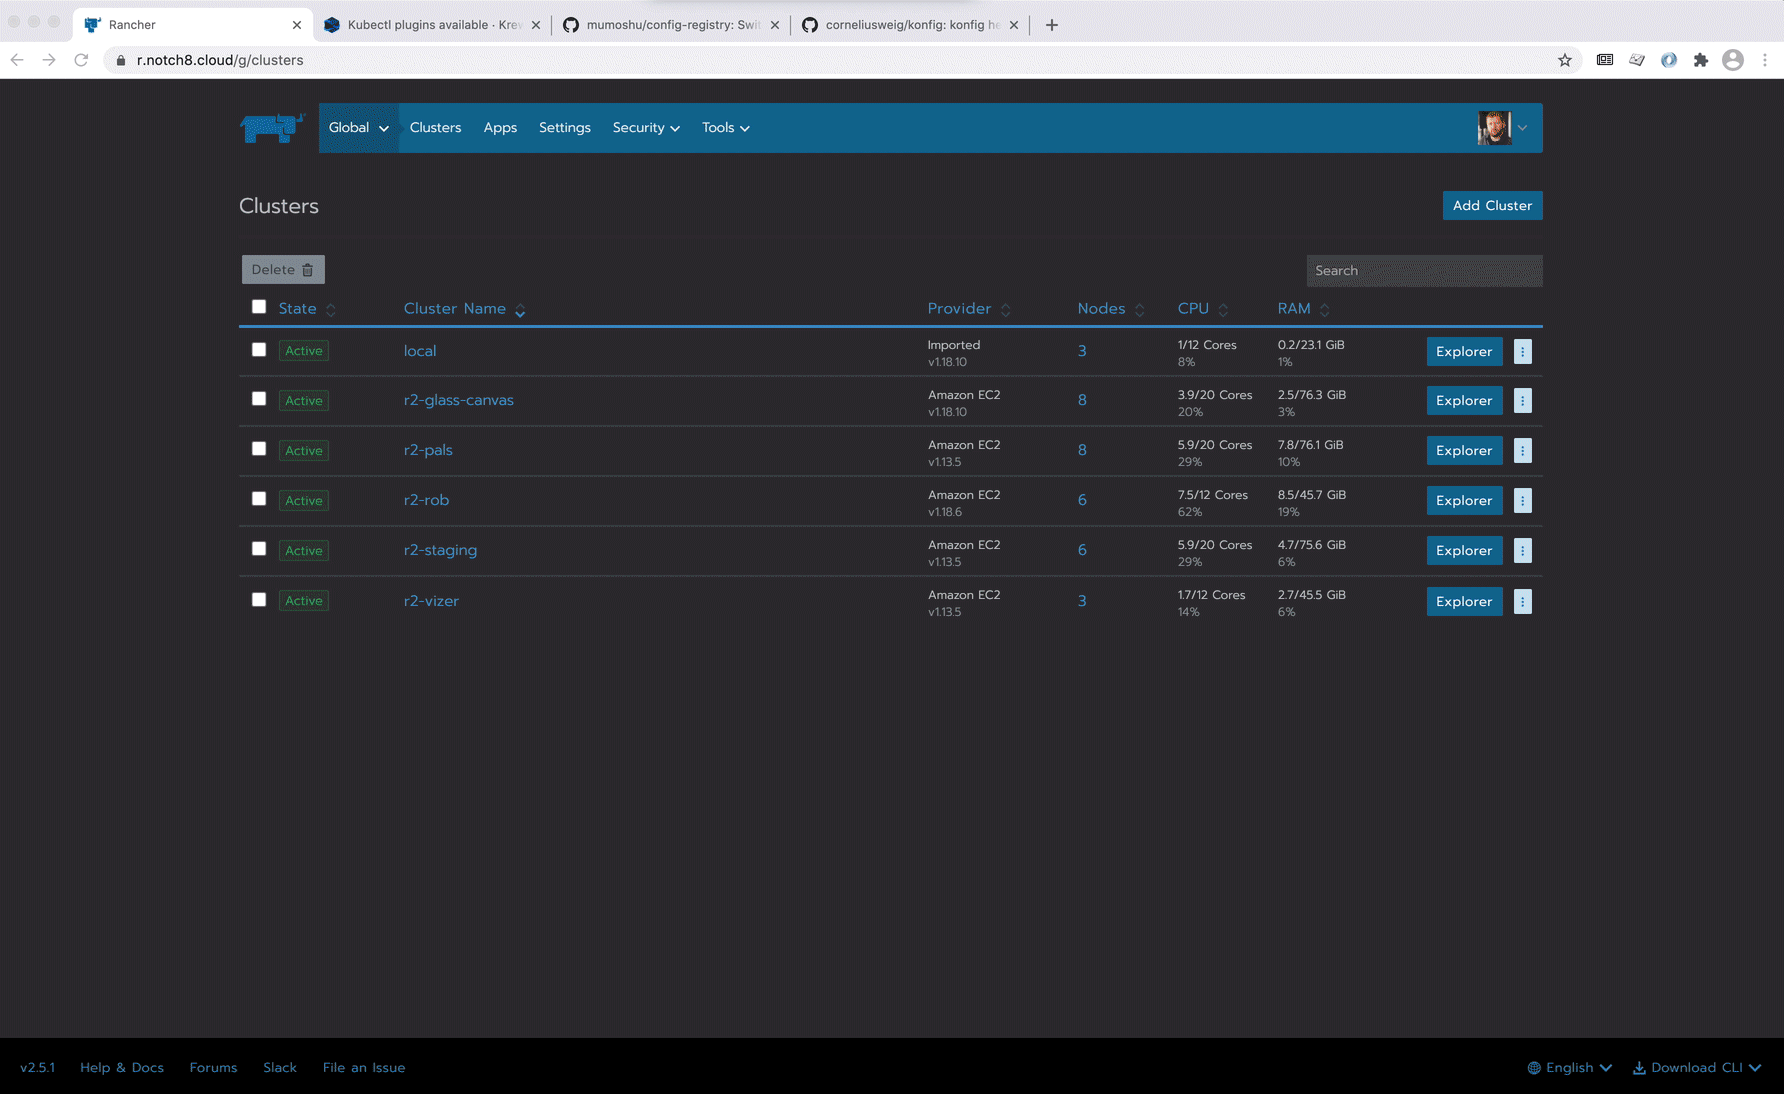
There are two views right now - Cluster Manager and Cluster Explorer. Cluster Manager is the old version, so we are going to focus on Cluster Explorer, however there are features that are still only available in Cluster Manager.
¶ Download KubeConfig
From the Cluster Manager page click the box that says "Kubeconfig File" (uppper righthand corner). Write the file to your hard drive (call it `kubeconfig.tmp.yml`)
Once the kubeconfig is downloaded, you can import it in to your main kubeconfig with the following command: `kubectl konfig import --save kubeconfig.tmp.yml` then remove the kubeconfig.tmp.yml file. Test every thing out by doing `kubectl ctx` to list all available contexts and `kubectl ctx r2-glass-canvas && kubectl ns` to list all available namespaces.