¶ How to SSH into a Rancher Node with kubectl
SUMMARY: I needed to be a project's root user in order to change the permission of several directories. When we execute shell in Rancher, we are not a root user and we should not switch into being one from there.
¶ PREREQUISITES:
Helpful Tip: Interactivity of these plugins is granted by installing fzf otherwise ctx and ns commands will print you a list of options and you'll need to switch context or namespace manually with a command like kubectl ctx r2-staging
¶ STEPS:
- In your terminal, type
kubectl ctxand use the up/down arrows + enter to select your targeted context. For this example, the cluster we want is r2-bl
WARNING!! DO NOT COPY AND PASTE: You will need to alter the following commands to suit the needs of your project.
¶ IF THE CLUSTER IS NOT AN OPTION YOU WILL NEED TO ADD IT:
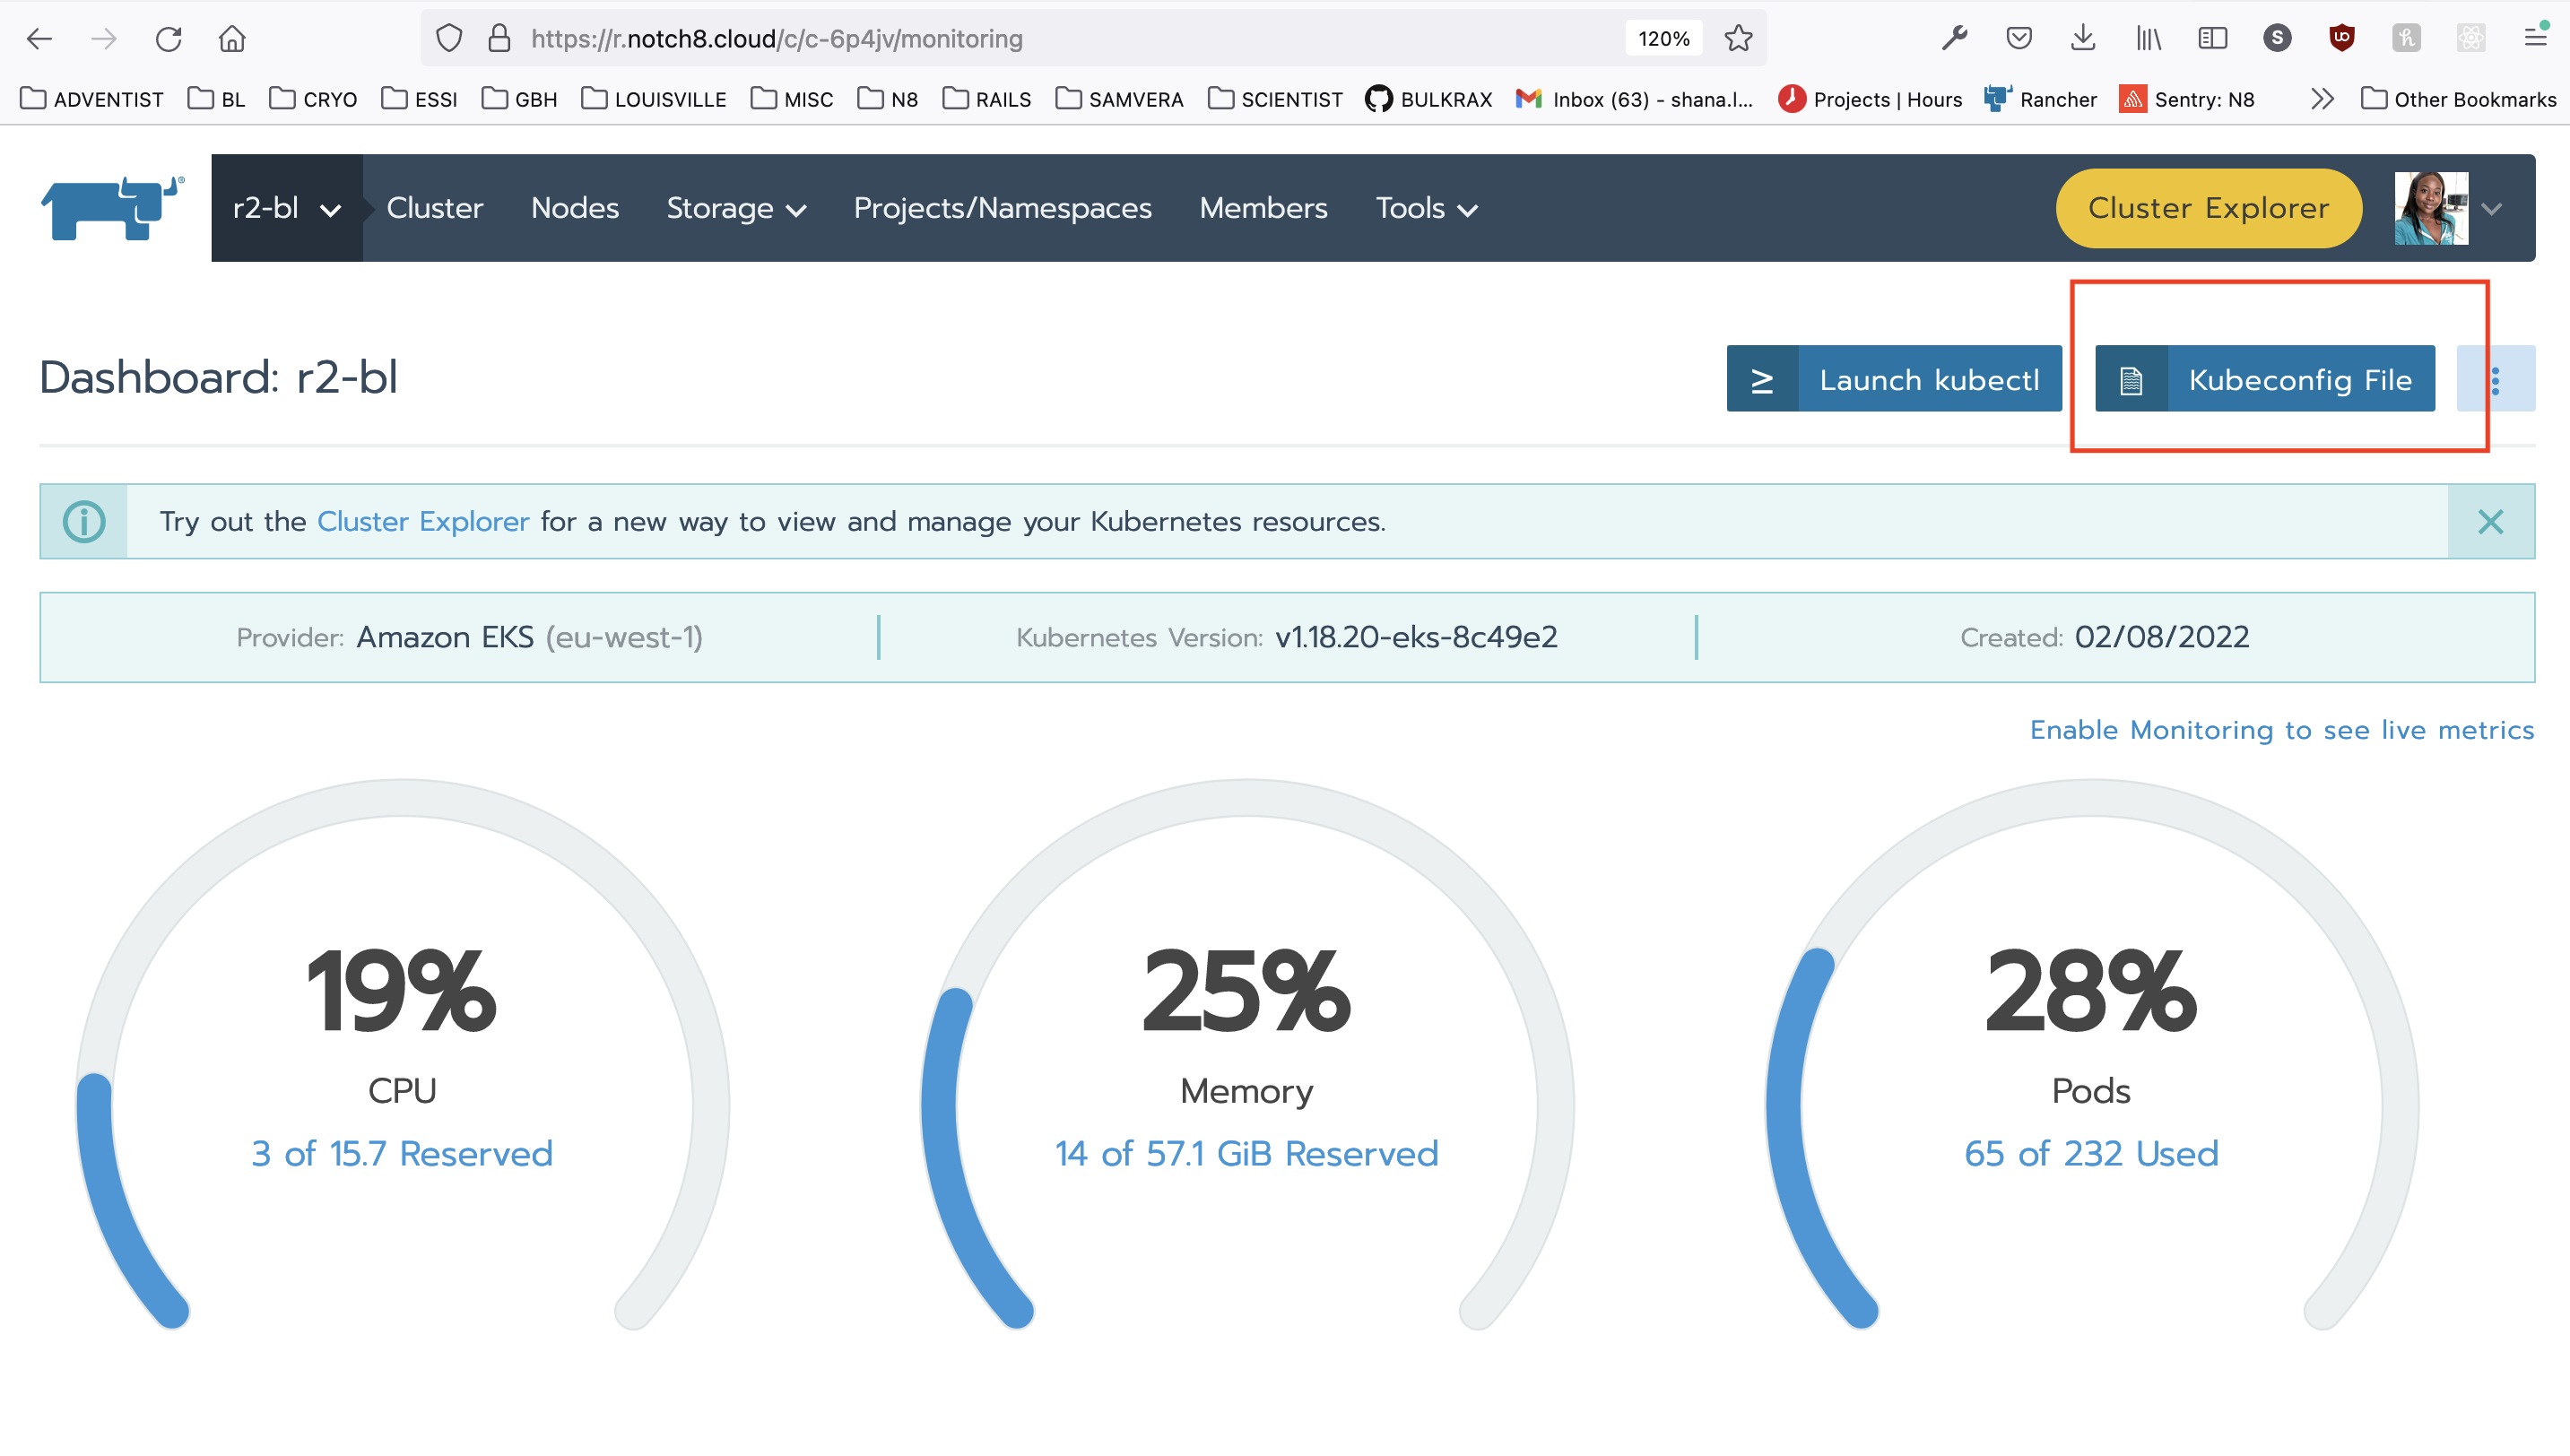
1a. COPY KUBE CONFIG: In Rancher, navigate to the cluster and click on the kubeconfig file to copy its contents into your clipboard.
1b. CREATE KUBE CONFIG: In your terminal, create and/or open kube config with vim .kube/config-bl.yaml Paste the clipboard's contents into this file i ctrl+v + esc, save and close the file. :wq + enter
1c. IMPORT KUBE CONFIG: in your terminal type kubectl konfig import -s .kube/config-bl.yaml
1d. Now if you type kubectl ctx, your cluster should be present. Select it:

-
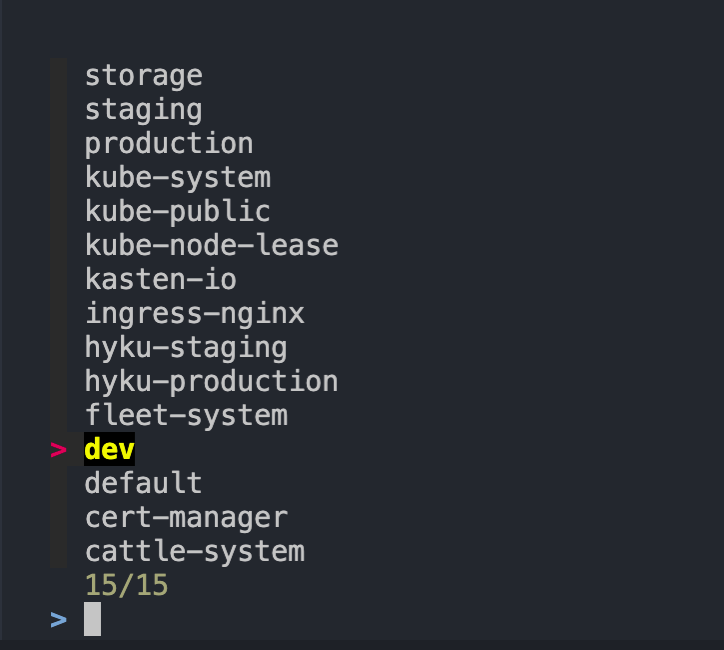
In your terminal, type
kubectl nsuse up/down arrows + enter to select the namespace.
-
In your terminal, fetch the nodes by typing
kubectl get nodes

-
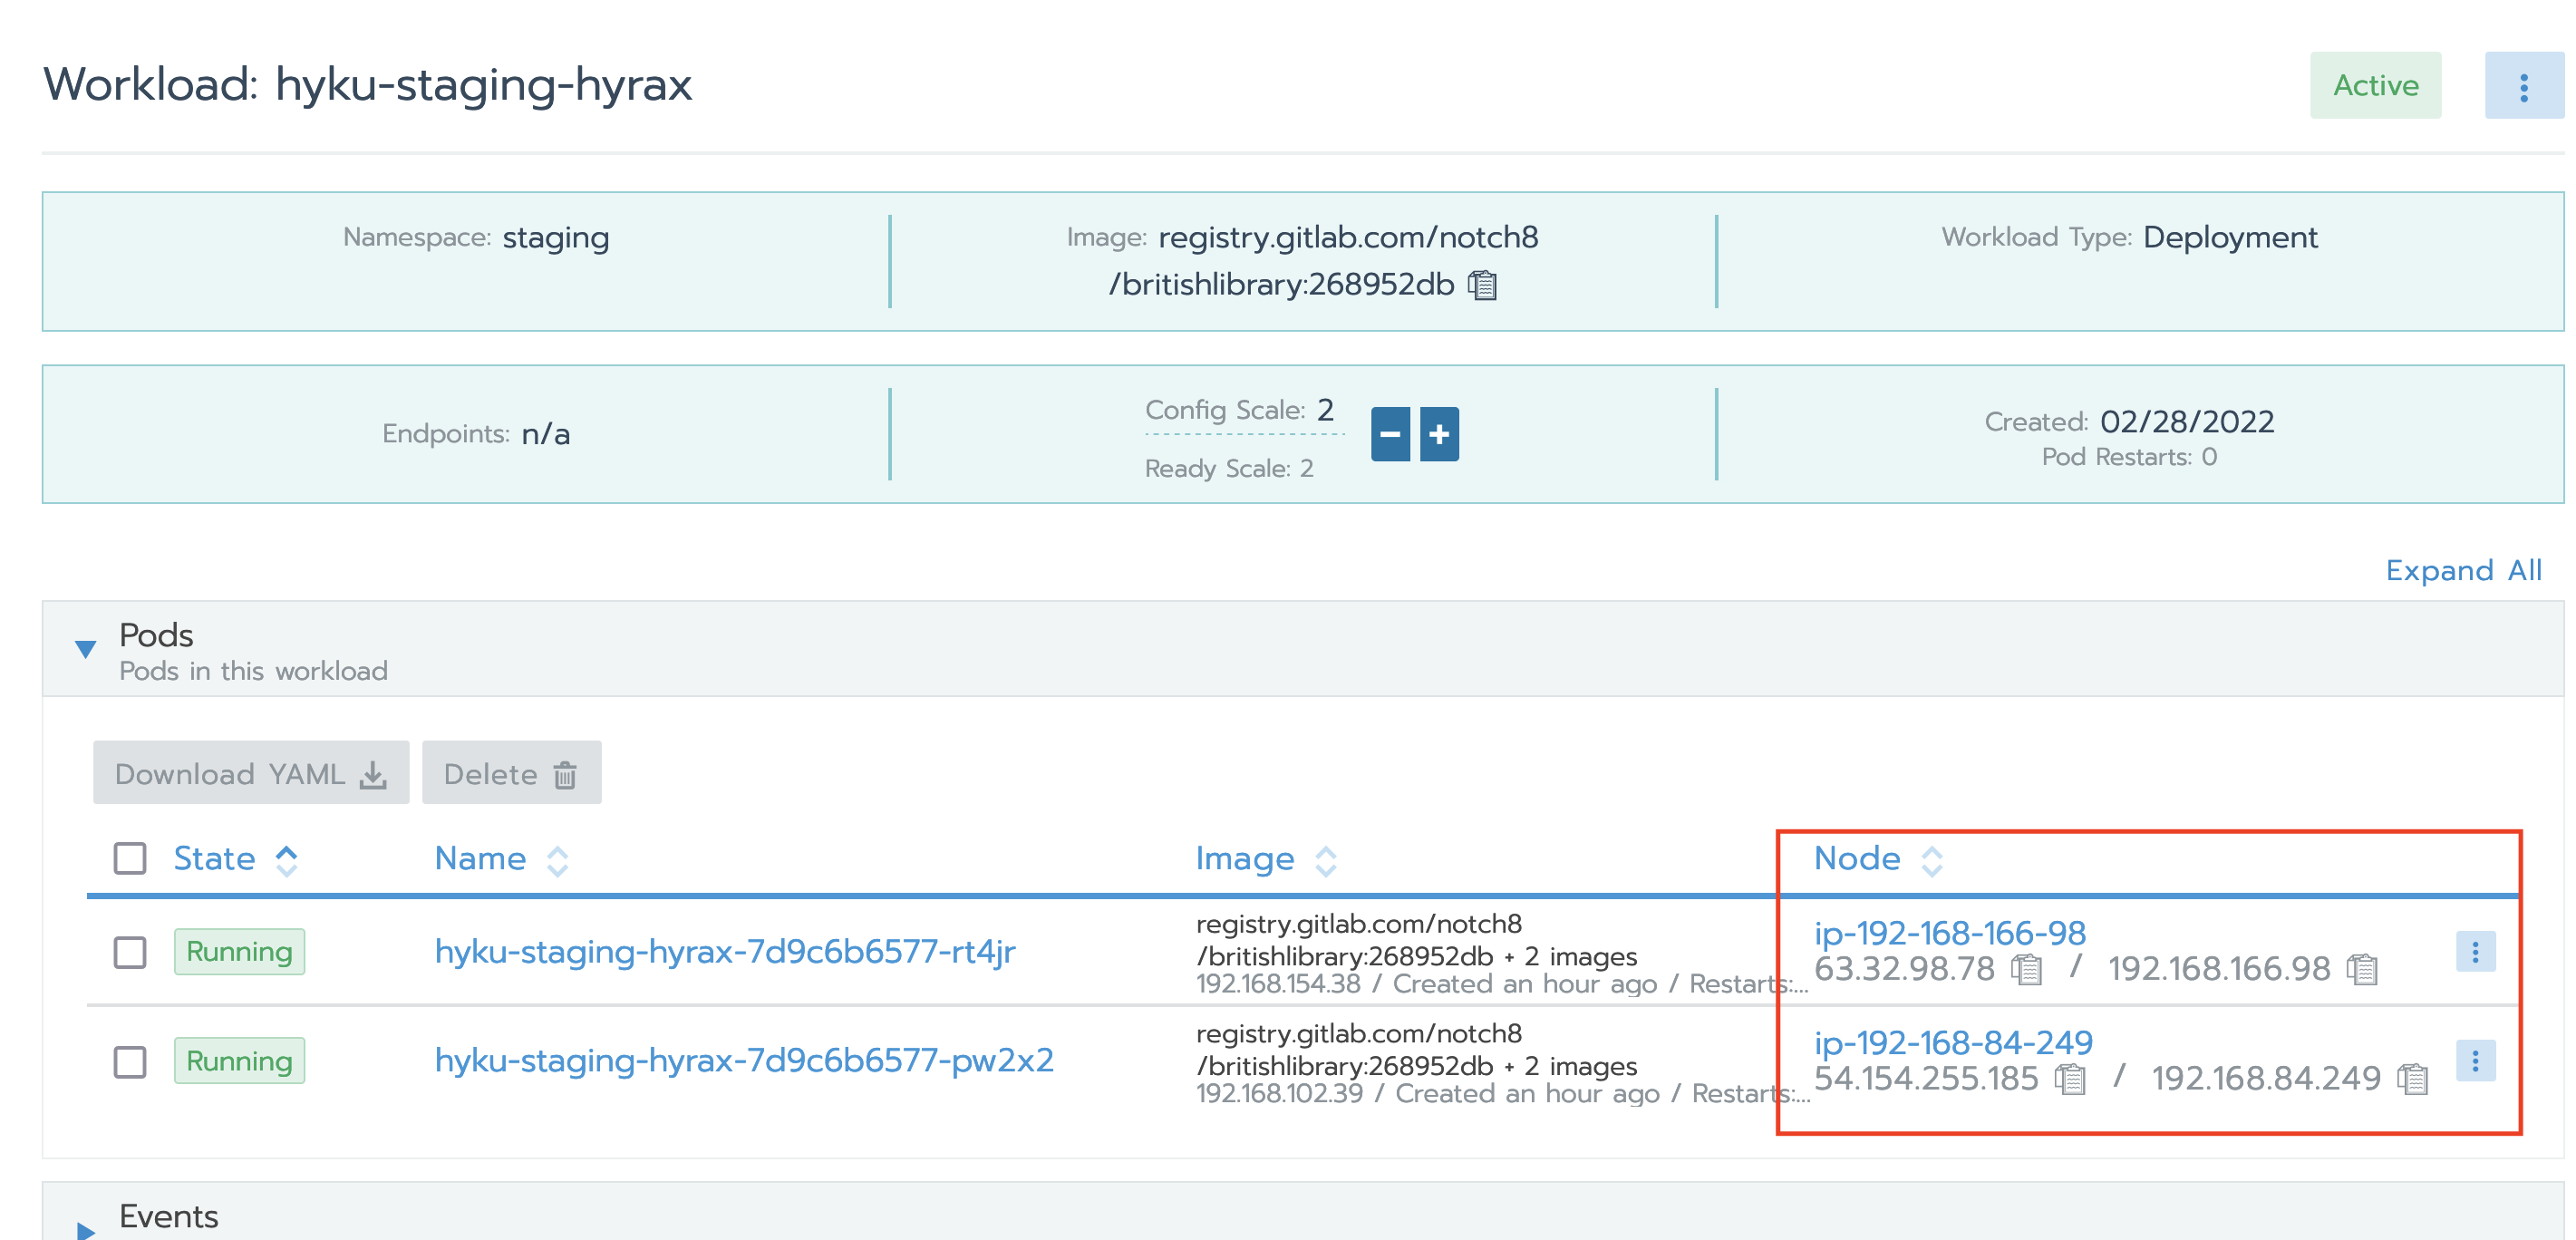
To be sure you are selecting the nodes you want, double check in rancher:
-
Install node shell with
kubectl krew install node-shell -
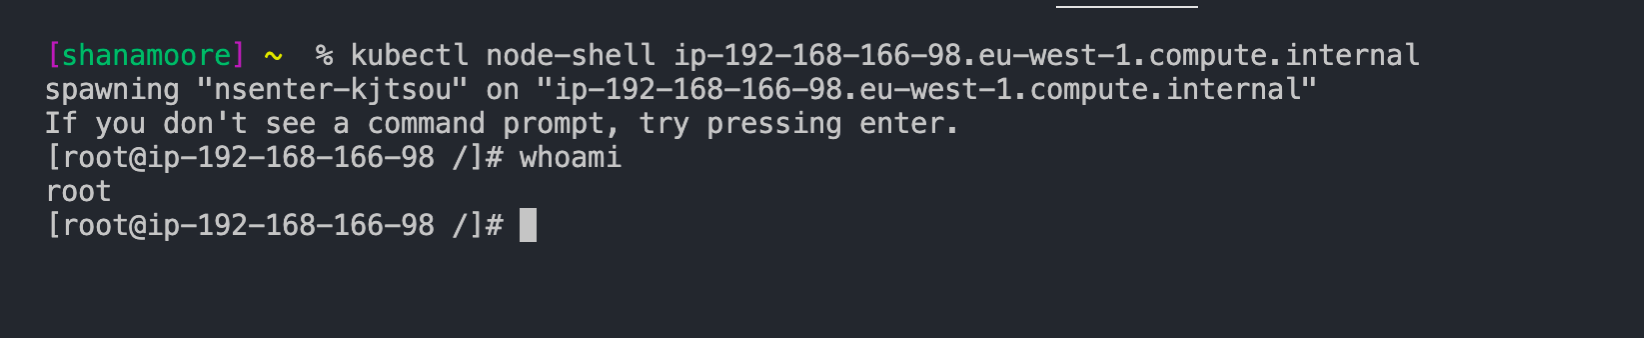
SSH into the node by typing the following command into your terminal:
kubectl node-shell [NODE IP]Replace NODE IP with one of the IP addresses of the get nodes command.
EXAMPLE: kubectl node-shell ip-192-168-166-98.eu-west-1.compute.internal
You should now be inside the node, as a root user. Type exit to quit the ssh session.